Overview
Atolio makes it easy to securely configure and manage access to commercial LLMs of your choice.
High-level configuration workflow
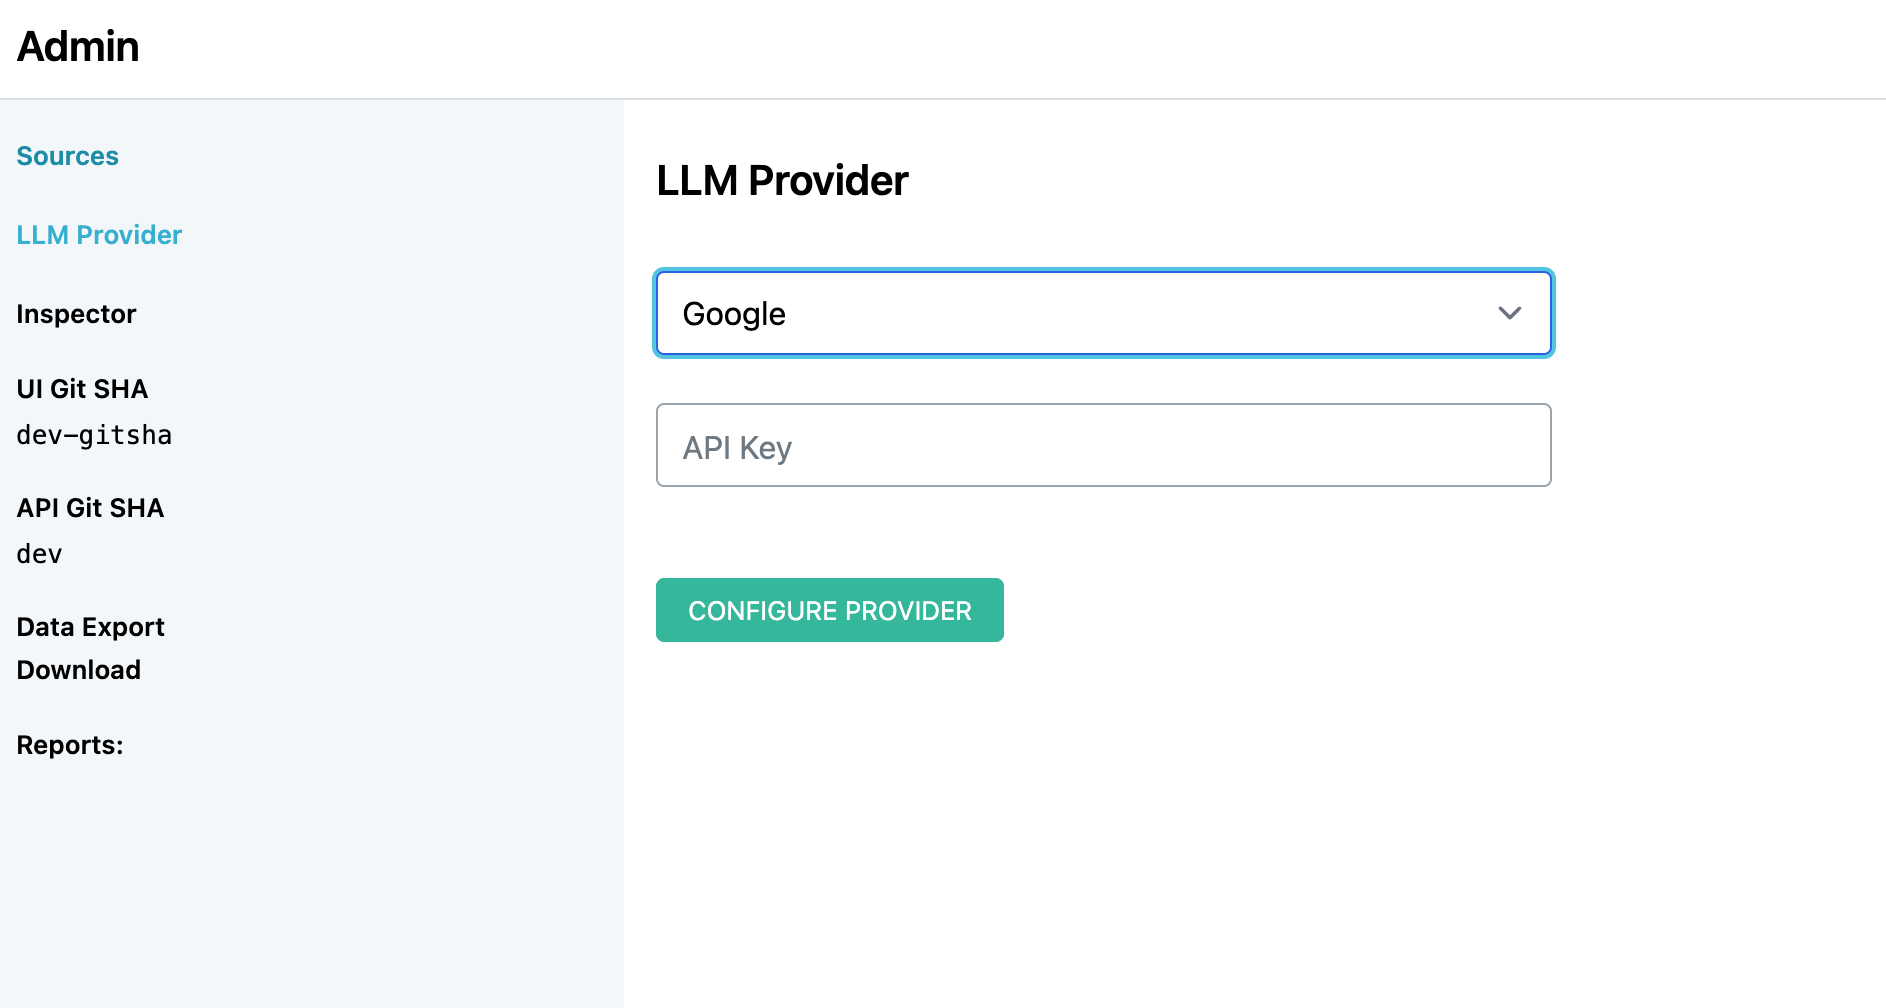
With a healthy Atolio deployment running, an administrator may hit the root URL of the
deployment (eg. https://search.example.com), visit the administration panel (/admin)
and click LLM Provider to jump into the configuration.
Atolio uses a range of models dependent on the use case. Per provider, the following models are currently supported:
| Provider | Models |
|---|---|
| OpenAI / Azure OpenAI | GPT-5, GPT-5 Mini |
| Anthropic / Anthropic Bedrock | Sonnet 4.6, Haiku 4.5 |
| Google Gemini | Gemini Flash 3 |
Configuration through API Key
For the majority of providers, an access token is required. To enable the provider:
Open Atolio and head to the
AdminpanelSelect
LLM Providerfrom the left-pane menuSelect the LLM Provider and follow the specific configuration steps:
- Azure OpenAI
- Navigate to the Azure AI Foundry Portal at https://ai.azure.com/ and create a new Azure AI Foundry resource.
- Choose subscription, resource group, region, and resource name. Create the resource.
- From the service home page, open
Deploymentsfrom the left-hand menu - Create a new base model deployment for
gpt5.2-chat - Create an additional base model deployment for
gpt5-mini - On the model deployment page, under
Endpoint Settings, copy the API key and base Endpoint URL. - Back within Atolio, enter the copied Endpoint URL and API Key.
- OpenAI
- Navigate to https://platform.openai.com/api-keys
- Create a new secret key and copy it.
- Specify the API key within Atolio.
- Anthropic
- Navigate to https://platform.claude.com/
- Create a new API key and copy it.
- Specify the API key within Atolio.
- Anthropic Bedrock
- Ensure Atolio is deployed on an AWS instance with an IAM role that has Bedrock permissions.
- In the AWS Console, enable model access in Amazon Bedrock for Anthropic Sonnet 4.6 and Haiku 4.5. In many cases, this is now enabled by default.
- Select Anthropic Bedrock as the provider within Atolio. The region is automatically selected based on the deployed region. For more details, see Claude on Amazon Bedrock.
- Google
- Navigate to https://aistudio.google.com
- Create a new project and API key and copy it.
- Specify the API key within Atolio.
- Azure OpenAI
Changing Providers
Upon configuring and validating the provider, Atolio will lock the configuration to ensure the system is stable. For switching providers, please contact your Atolio admin at this time.